Monday, September 13, 2010

Window weatherstripping/run channel removal

Next up, removing the door window weatherstripping and run channels. This is all stuff that will need replacing due to age and general crappy condition. :/


Each door has two pieces of weatherstripping across the bottom of the window opening - one on each side of the glass. They're both held on by three clips - on the outside, the clips attach to the chromium trim (see below); on the inside, the clips attach to the door itself.


A shot from inside the door, looking straight up. Weatherstrips and attached clips are clearly visible.


The clips on the old girl are mostly toast - rusted and/or brittle. The service manual info on the removal of these clips basically says "you're going to destroy these clips when you remove'em", so I just went to town with a flathead screwdriver and a rubber mallet.


Here's the inner weatherstrip on the left rear door, partly removed. They curve up slightly at the ends away from the small fixed windows, to match the curve of the opening on the door frame.


One strip, and the nasty dead clips formerly holding it in place.


On the front doors, on the ends nearest the back of the car, there's an extra vertical piece that goes in as well. This piece curves a bit at the top to, again, match the curve of the window opening.


Next out is the run channel. This is a padded piece that the window glass slides within and snugs into at the top, that is several feet long, wrapping from nearly the bottom of the door frame on one end, up and around, and nearly back down to the bottom of the door frame on the other side. It's held in by several clips attached to the inside of the window area, combined with an adhesive.


It takes a good bit of tugging, but basically that's the trick - just got to pull hard, to break the adhesive's grip.


And out it comes! The other three doors fall quickly to my newfound destructive skills.


A pic of a couple of the run channel clips, still in place (tabs slide into round holes in the frame). I think all the clips on the car are still in good enough shape to re-use (assuming the new run channels don't come with sets of clips).

Tuesday, September 7, 2010

Door latch removal

More work on the doors - time to remove the door handles and latch mechanisms.


Driver's door handle. All the door handles are going to need some love, as far as the exteriors go - the finishes are all cracked and/or pitted.


Removal of the handles is easy - one bolt (with a funky shaped metal piece) comes out entirely (pictured just inside the weatherstripping, to the left of the main latch area). Another bolt is accessed through the circular hole, right of the latch area - this one just requires loosening.


Once the rear bolt is removed and the front bolt is loosened, it's just a matter of sliding the handle forward a bit, to allow the forward bolt to pass through the larger opening in the door.


Look ma, no handle!


Next is to remove the latch bits. Here's the latch handle. First order of business is to detach the horizontal bar that the latch moves to open the door.


The bar is attached with a spring-type piece. One has to push the tab (closer to the door) out and then slide it down the bar a bit.


Once that piece is free, the bar can be pulled away from the latch bar easily.


Latch handle is now easily removed, just a pair of bolts to remove.


A similar spring piece holds the other end of the bar on - but this one isn't nearly as accessable with a flathead screwdriver. After poking at it for a couple of minutes, I decided it would be easier to remove the bar once the bar and mechanism were removed from the door.

The main door latch mechanism is easily removed* - four bolts hold it to the door.


Inside of the main mechanism.

Four clips remain on the door - these pop off easily. Everything into a baggie!


The last remaining part is what the latch attaches to. Now comes the fun - pretty much all of these bolts, on all four pieces, are stuck. STUCK. And remember the asterisk above? A couple of THOSE bolts are also, currently, stuck fast. At this point, I'm ready to remove all of these bits from the passenger side doors, but cannot, due to a single stubborn bolt. May have to resort to drilling these suckers out. I don't mind losing the bolts, as my current plan is to replace all these bolts with new hardware anyhow. I just fear damaging bits that aren't as easily replaceable.


Rear driver's side door. Completely different setup, due to the lock being on the other end of the door from the main latch. With this one, I just removed everything straight up, and then detached the horizontal bars from everything once it was off the door. Big time/hassle savings!


The one part I'm going to have to hunt for - or come up with an alternative for - is the rubber piece that the horizontal bars thread through, that have a round tab that is pushed through a hole on the inside of the doors, to hold the bars in place. In the above photo, you'll see two of these pieces on the upper bar, one on the lower bar. The original pieces are old and brittle; most have the tab areas snapped off and were hanging free, and those that were still in place, the tabs broke off when removing the bars.

Tuesday, August 31, 2010

Door window/regulator removal

Next up is getting the windows and related hardware out of the doors.
A shot of the tray that holds the bottom of the door glass. Removing the two screws frees up the glass - sorta. In this case, the 50+ year old rubber bits that wrap around the bottom of the glass, surrounding the areas where the mount holes are, has congealed into some sort of super-sticky substance. So instead of being able to simply lift the glass out, each piece takes a good ten or fifteen minutes of work, wiggling back and forth, up and down, etc. to get the rubber to release its death grip. Grr. :(
A shot of the tray, once the rubber has been defeated. Remnants of the struggle remain.

Next task is to pull the glass upwards by hand, and jam a rubber doorstop in to hold it in place, while I remove the regulator hardware.

The regulators are attached with four bolts - that's it.

But, one has to remove two other bolts, holding one of the vertical guide rails in place - here...

...and here. Once this rail is free, the arm from the regulator to the tray can be slipped between the guide rail and the door frame, and the regulator removed.

The process for the rear door is the same, except the guide rail to be freed up has three bolts instead of two, and is to the rear of the car as opposed to the front, as is the case with the front doors.

A pair of window regulators - front door on top, rear door on bottom.


The nice thing I'm discovering about working on the doors - unlike most tasks with this car, it's repetitive - so once you figure it out for one door, the other three doors go much quicker!

Windshield wipers/motor

Windshield wiper motor, still wired up...

...and unwired.
The rubber washers on each side of the three bolts are going to need replacing, methinks.
A shot up underneath, showing part of the arm that is pushed by the motor to move the wiper blades.
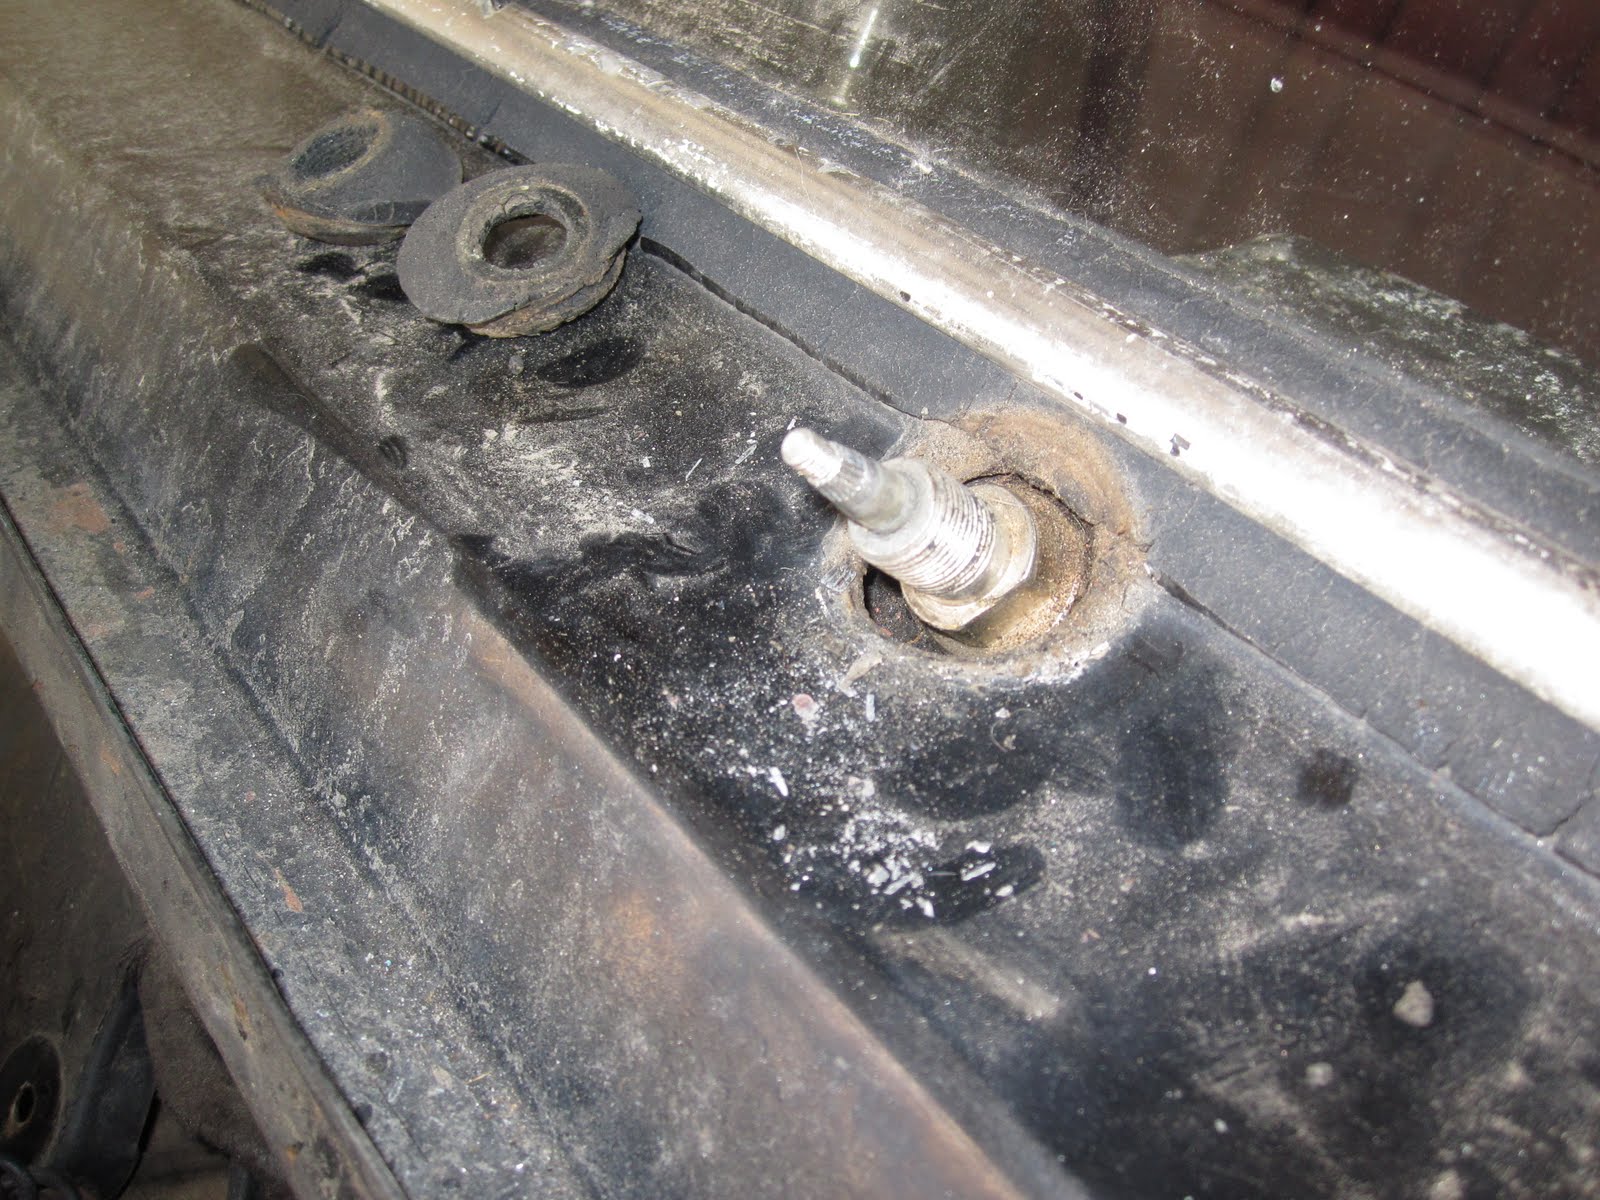
Wiper motor detached.

The main wiper arms were easy to remove. At first, removing these last bits had me stymied - the service manual mentioned a special tool to get these bits out. But Ernie (my Merc-lovin' neighbor) said "meh, just use some pliers" - so I did. Suckers came out easy enough. *bonk!*
Suckers came out easy enough. *bonk!*
With those two parts removed, the motor mount and attached hardware came out easily.

Fuse box

Next up: removing the fuse box. Shot from the front...
...and of the back.
First order of business is to detach that cylindrical piece.
"Blinkgeber" translates as "flasher". "Nicht werfen!" translates as "do not throw!" I imagine there's another meaning to that... :/
To free up the fuse box, the plate around the right side has to be removed. Just a couple of bolts need removing and it slides right out.
Now that the box is free, it's time to spend a good little while unscrewing about twenty screws, making sure not to lose any, and detaching all the leads. Fun!
Front and back of removed box. I did spy the fuse box cover in a box of loose parts that my cousin sent along with the car, so I'll be digging that out and storing it with the box itself.

Coolant system

More catching up on photos and posts! This is from late May. :/

This time I tackle getting some of the coolant system out, on the passenger side of the engine.

Photo of the top section of hoses/etc. to be removed...
...and a shot farther down.

The top section looks kind of tricky, but it's just a matter of loosening up all the clamps, and giving that central piece a good steady twist, and everything pops loose.
After the hoses/etc. above are out of the way. Next is that one pipe, removing the clamps and loosening up the old rubber hoses (which requires giving them a good lengthwise slice);


And out it comes! The pipe itself needs some cleaning up - there's a bit of rust but it appears to be just on the surface. I suspect this piece will be reusable.