Monday, September 4, 2017

Body work and paint done (mostly)

Sadly, I lost a few months of photos with a phone reset (corrupted backup, meh!).


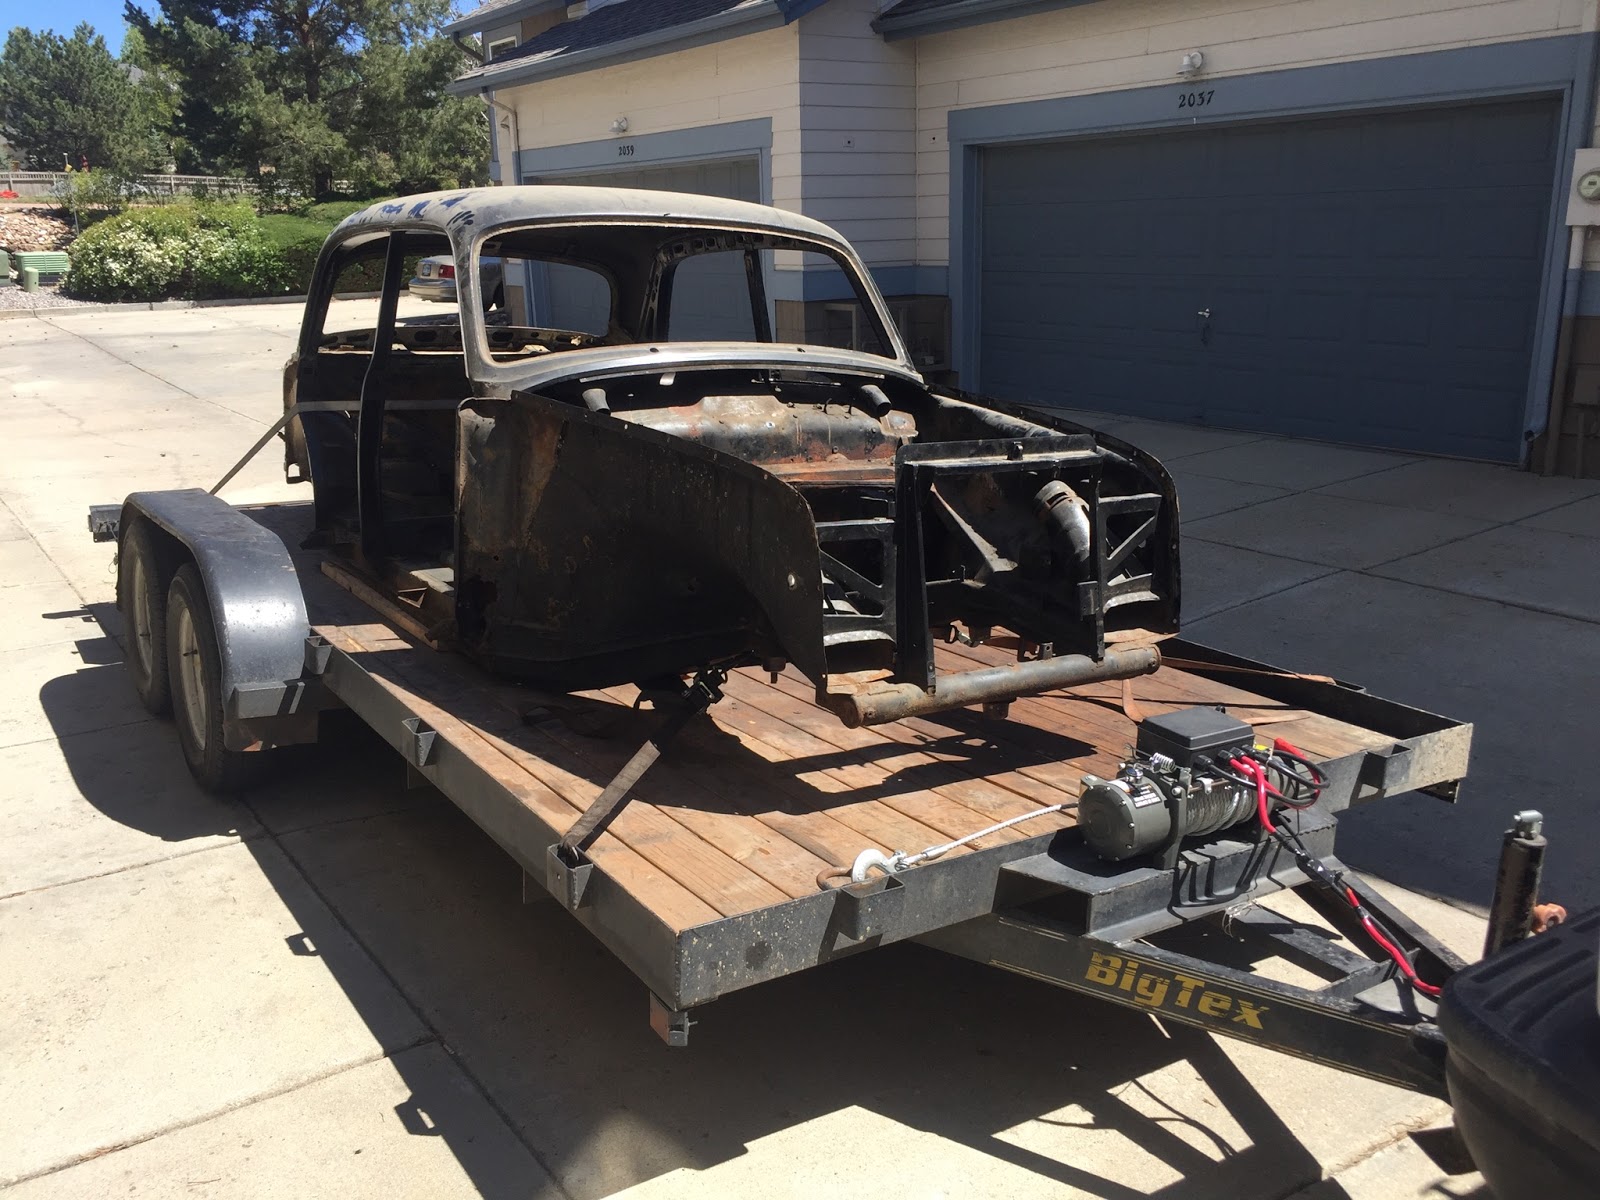
Prepping for transport down to the paint stripper...


Aaaaand like magic, it's all done!

The body and other parts at my friend's shop. Work has progressed on the body parts at this point. Lots of little dings and such, plus apparently inferior body work done on some panels in the distant past that Paul addressed.

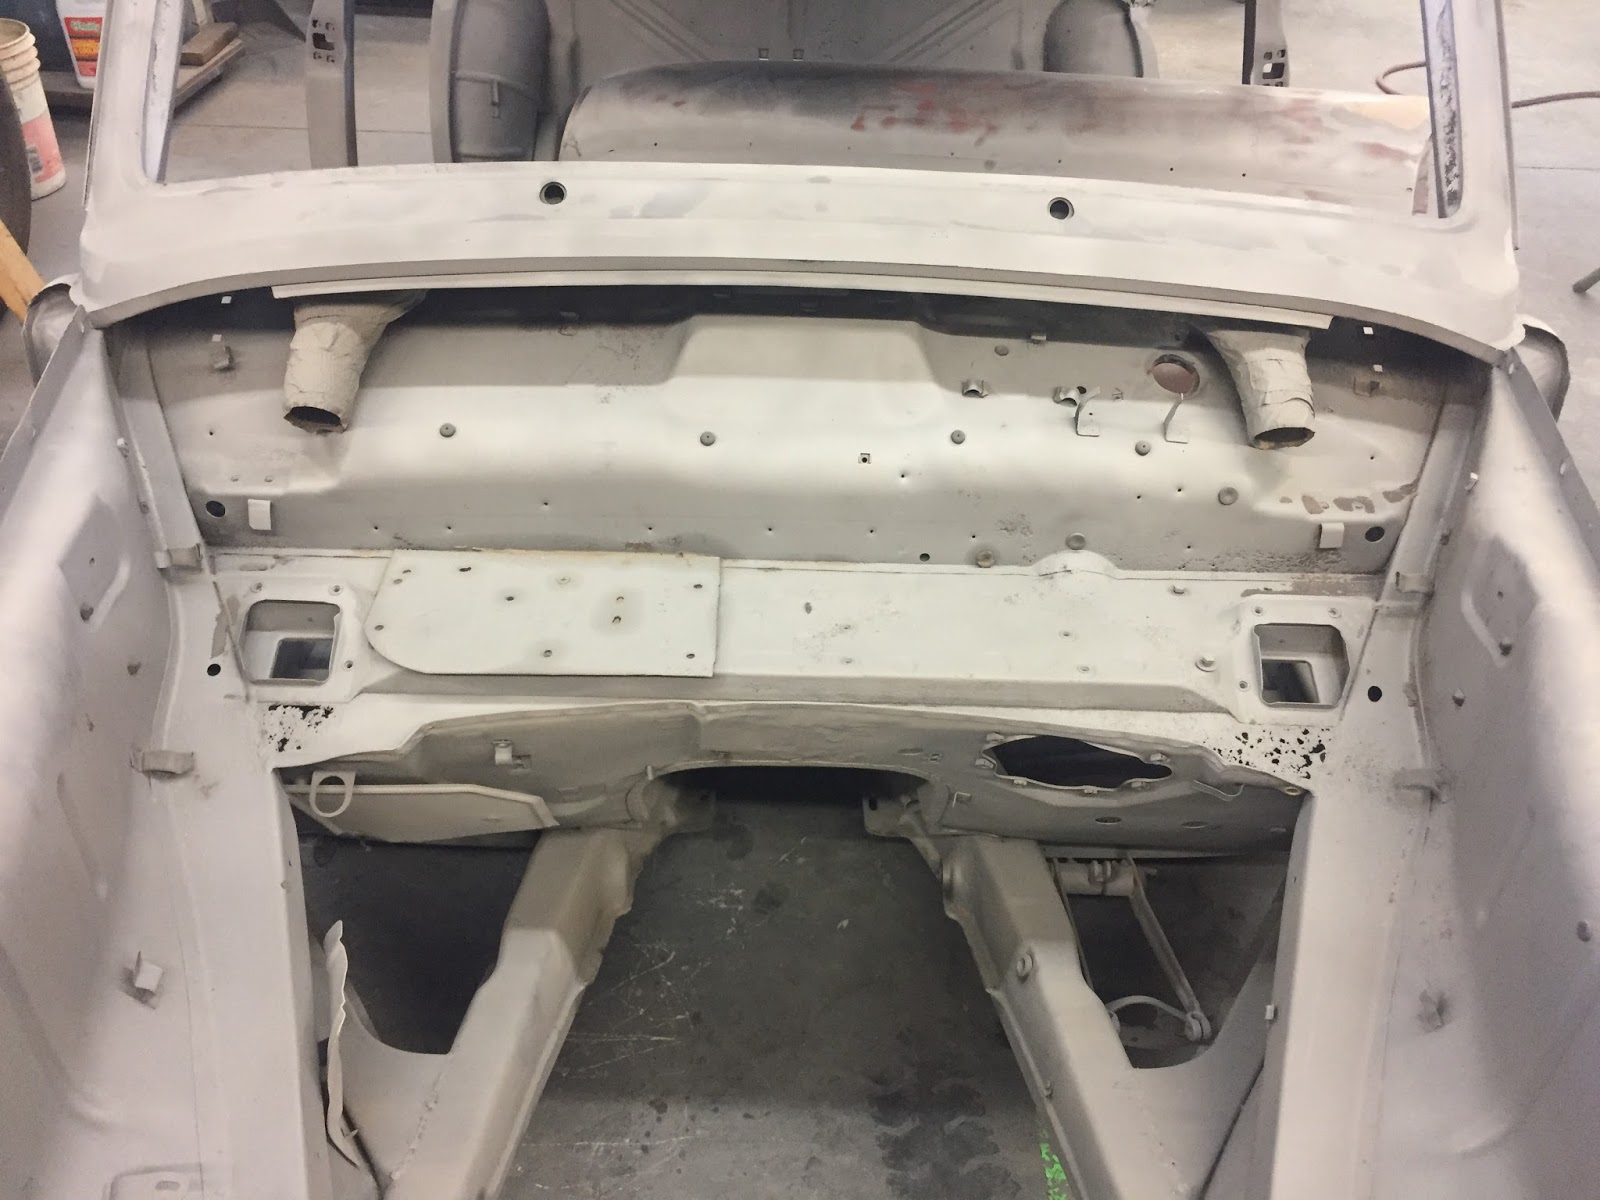
A lot of body work is in the cards. 


To my surprise, Paul is hot to get my car done and out of his shop - he needs the room! I was expecting to be waiting on this for some months. So the first few body pieces - hood, trunk, front fenders - come home via our respective vehicles.


The fenders now keep my beer cellar stash company. Cat for scale.

Not so long later, Paul texts me. "Hey I'm ready to get your body out of my shop on Saturday". It's Thursday. Oboy. So I scramble to find the relevant pieces to attach the front subframe and rear axle back onto the body, so we can roll it around on wheels.


Folks on the Ponton group suggest throwing 2x4s in between the body and the rear axle for support, seeing as the thrust arms (well, one - the other is giving me fits) are off and there's no putting the springs/shocks back in for proper support. The rear end is a little bow-legged but it works like a champ!


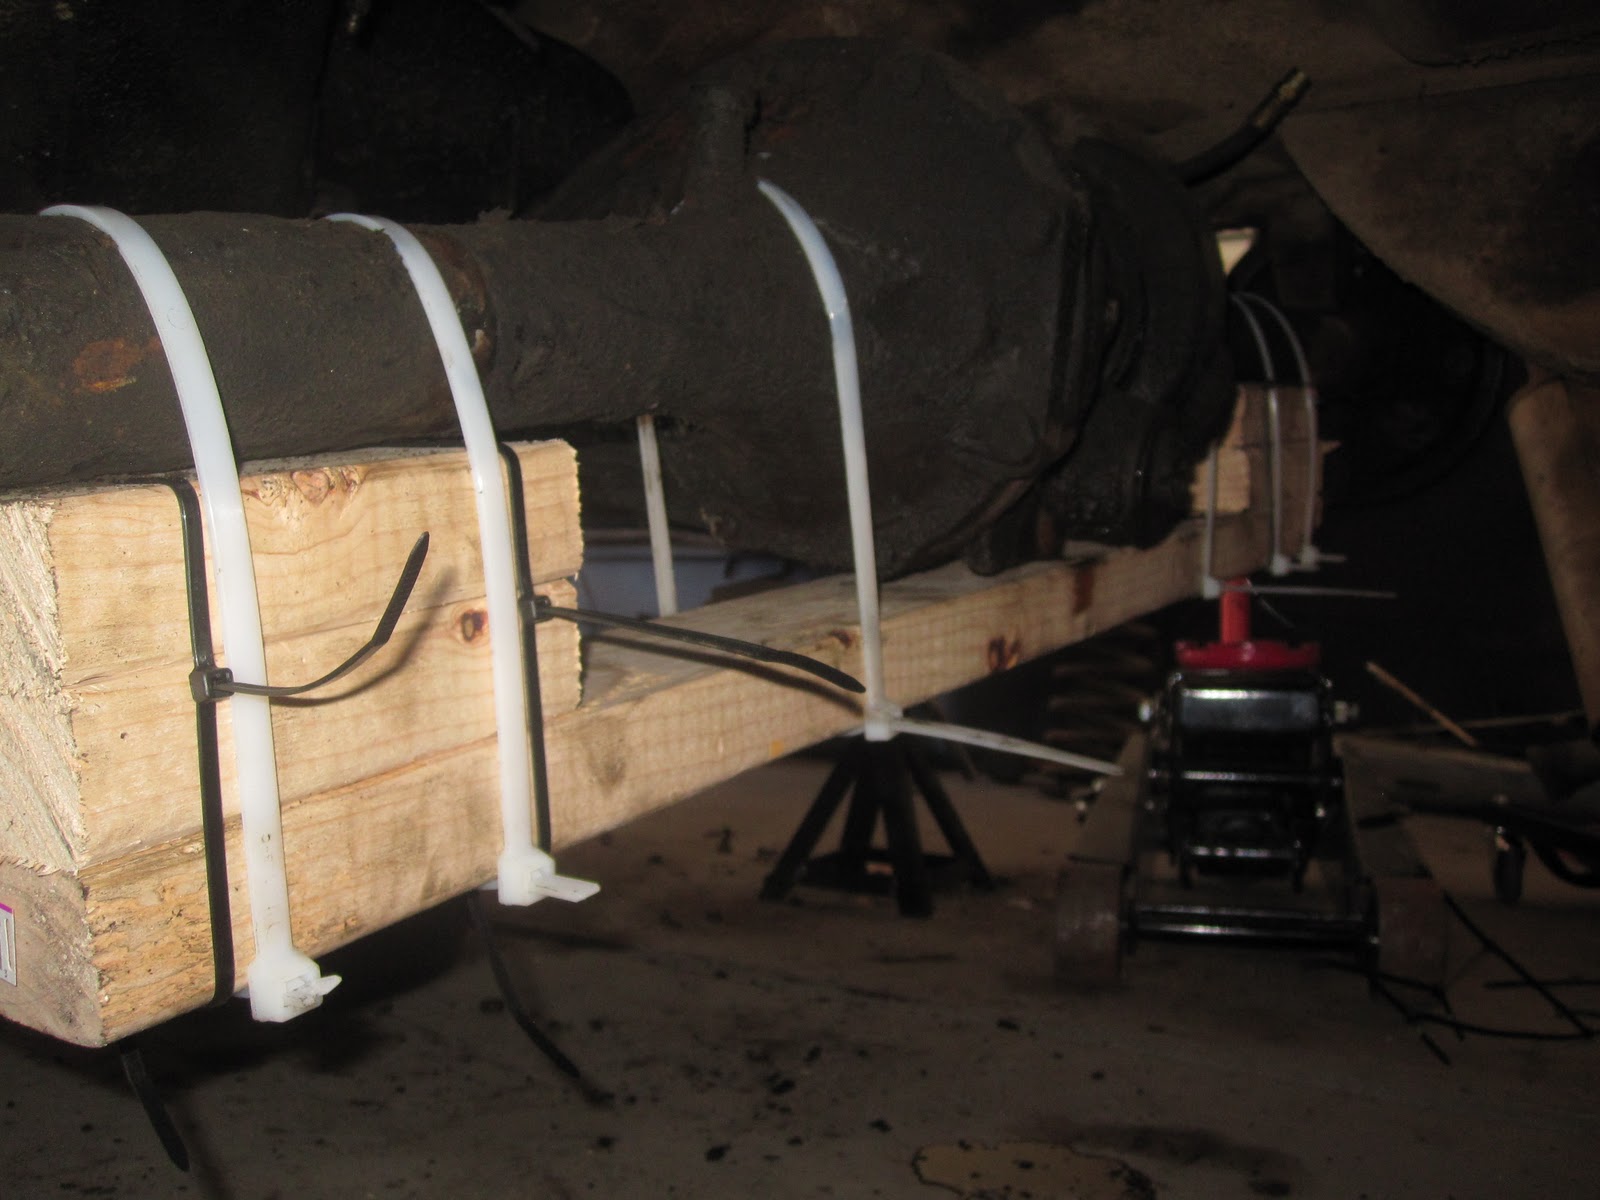
And that's where I am currently. The body is back in my garage. Paul still has the doors (I think he was in a bit of a hurry and painted them without really examining them for dings - he's redoing those and I'll be collecting them soon). I'll be extracting the front subframe and rear axle again and putting the body back up on jackstands. I expect my next big project will be disassembly of said subframe and axle, to get the main structural parts out to be cleaned up. Paul mentioned that since the springs are nearly sixty years old, they may have "sag" and need replacing - I'll be researching this. I'd rather not have more parts to buy on top of the billion bits of rubber and all the replacement hardware I'll be bleeding money to acquire over the next year or so. I'll also be getting some paint that Paul suggested to cover the interior of the body, the trunk and engine compartment. That'll be a long arduous task with a paintbrush - he mentioned buying an airbrush and cutting the paint a bit so it flows through, I may well go that route!

Saturday, May 6, 2017

Back In The Saddle, part three


After a looooong hiatus, I'm back on the Mercedes project.

I see that the last post (from six years ago, meh!) was on pulling the tranny. Obviously more happened after that. I roped a fellow who lives nearby into bringing over his engine hoist, and we got the engine out and onto a stand, and then not long later, with the help of neighbor Frank, I got the front subframe detached. And then... nothing. Nothing for five years but dust. I had hit the point where it was time to start spending some serious funds, but worse for me, I had hit the point where I had to start making real decisions - what shops to use, what people to trust.

Fortunately, about a year and a half ago, I met a gal at a happy hour, who I kinda took up with for a good while, and along with meeting her that night, I met a friend of hers she'd came with, Paul, who has an auto repair/resto shop. Seems to know his stuff pretty well. That's Paul's trailer that the Mercedes is on - he took the time yesterday to roll over and get the body and various parts transported down to Golden (about a half hour or so south) to a paint stripping shop, the same one neighbor Frank used years ago on his Karmann Ghia project. Once everything's cleaned up, it'll all go over to Paul's shop where he's going to handle the body work - cutting out the rusted areas and patching, and pounding out some spots on three of the four fenders, then the paint.

Thanks to the recommendation of a former neighbor, I've got a fellow in mind for the engine rebuild. He quoted me $4k-$8k for that, gah! It'll depend on the severity of the project. I'm expecting more on the high end.

For the first time since late 2009, I can actually park my truck in my garage! Though I still have to deal with the front subframe and rear axle assembly, tearing those down and starting the cleanup and rebuild. Not sure if I'm going to have the square footage for both truck and those parts of the car, we'll see.

I'm going to try and start keeping this blog updated more regularly again, now that I've finally gotten off my ass and back on this project. I'm sure all two of you will be thrilled. :)

Friday, October 14, 2011

Transmission/engine removal!

This post covers several weeks of real time, sadly.

First out is the transmission. A simple enough task - six bolts to come off, each of them coming loose pretty easily. The main concern was getting the transmission out and down without dropping it. As usual, I rope Frank into helping out. Between the two of us, one on each side, we pull the transmission back and then lower it to the floor. It's not terribly heavy, I've moved it around a couple of times since.


Fast forward several weeks, to yesterday. Ernie had said he'd come help out when it came time to get the engine out, as he has a hydraulic lift. After some delays, Ernie got in touch earlier in the week and we made plans for him to cruise by and chip in for a while.

While I shuffle various crap around to make room, Ernie attaches chains to the engine.


Ernie cranking on the lift to get the arm up to the starting spot.


Once the lift is in position, we drop the chains through and get them locked in, and lifting commences!


Not a lot of room to spare beneath my garage door.


Before putting the engine on the engine stand I snagged last year, Ernie suggests removing the clutch, which is quite filthy looking. This will be another rehab task over the winter. Ernie grabs a socket wrench and has the clutch off in short order.


Once the engine is secured to the stand, it's time to rotate the engine to get the remaining radiator fluid out. There's rather a lot in there! And klutzy me, at one point I spill most of it out of the pan onto the ground. Fortunately I have a full box of cat litter in my basement, a fair chunk of which gets used.


Now that the engine is out, and the rear axle has been removed, I'm very nearly ready to have the car body hauled to be stripped! Just a few minor tasks remain.

Rear axle removal

Now that the springs and shocks are out, the rear axle itself can be tackled.


Aside from the mount holding the rear axle itself, the last piece needing removal is the cross strut that connects on the passenger side.


It takes a bit of effort, but the bolts holding the strut on come out.


Baggie time!

Now the rear axle is held on solely by the mount that is attached inside the trunk compartment.

First task is to remove the two small screws holding this protective plate in place.

The nut itself has a locking plate that needs to be bent back down, to allow the nut to spin.


After a few whacks on a flathead screwdriver with a hammer, the locking plate is bent down sufficiently. At least, I think it is. Later on, helpful neighbor Ernie beats on this plate a bit more as we're working on the last bit.

Next up is to fashion a brace for the rear axle, to prevent it from moving around too much, or too far, in bad ways, which can damage the u-joint within. I opt for a simple solution - a 2x4 and zip ties!

I saw several small pieces off the extra portion of the 2x4 to build up the ends, so the brace will fit beneath the main body of the axle and the ends are high enough to support the axle arms.


While trying to strap the brace onto the axle, I find the small black zipties I'd purchased just weren't going to do the job, so another run to the store for some far beefier ties.


Three on each side seem to do the trick nicely.

At this point, I hit a stopping point, as I have trouble loosening the large nut within the trunk compartment. This is a two-man job, one to work on the nut and one to hold the axle steady, pushing or pulling on one end in the opposite direction.

Fortunately, my neighbor Ernie was able to help on this front - after beating on the locking plate a bit more (which I don't know if it helped or not), he went to town on the nut while I grabbed one end of the axle and pulled, and pow the nut finally released!

We had positioned a floor jack beneath the center of the axle body ahead of time to prevent the axle from dropping via gravity. After letting the jack down, it took a bit of wiggling to get the axle mount to drop out of the body, but in time, the axle was free and clear.


The axle will need some TLC - the differential is out of alignment, I know that for sure, and the whole assembly is just filthy nasty. Plus, the rubber boot on the passenger side gave way just after the car was brought out to Colorado, so I think I'll be taking the whole axle apart (or at least, most of it) and giving it a good rehab while the body is out getting its own attention.