Tuesday, August 31, 2010

Door window/regulator removal

Next up is getting the windows and related hardware out of the doors.
A shot of the tray that holds the bottom of the door glass. Removing the two screws frees up the glass - sorta. In this case, the 50+ year old rubber bits that wrap around the bottom of the glass, surrounding the areas where the mount holes are, has congealed into some sort of super-sticky substance. So instead of being able to simply lift the glass out, each piece takes a good ten or fifteen minutes of work, wiggling back and forth, up and down, etc. to get the rubber to release its death grip. Grr. :(
A shot of the tray, once the rubber has been defeated. Remnants of the struggle remain.

Next task is to pull the glass upwards by hand, and jam a rubber doorstop in to hold it in place, while I remove the regulator hardware.

The regulators are attached with four bolts - that's it.

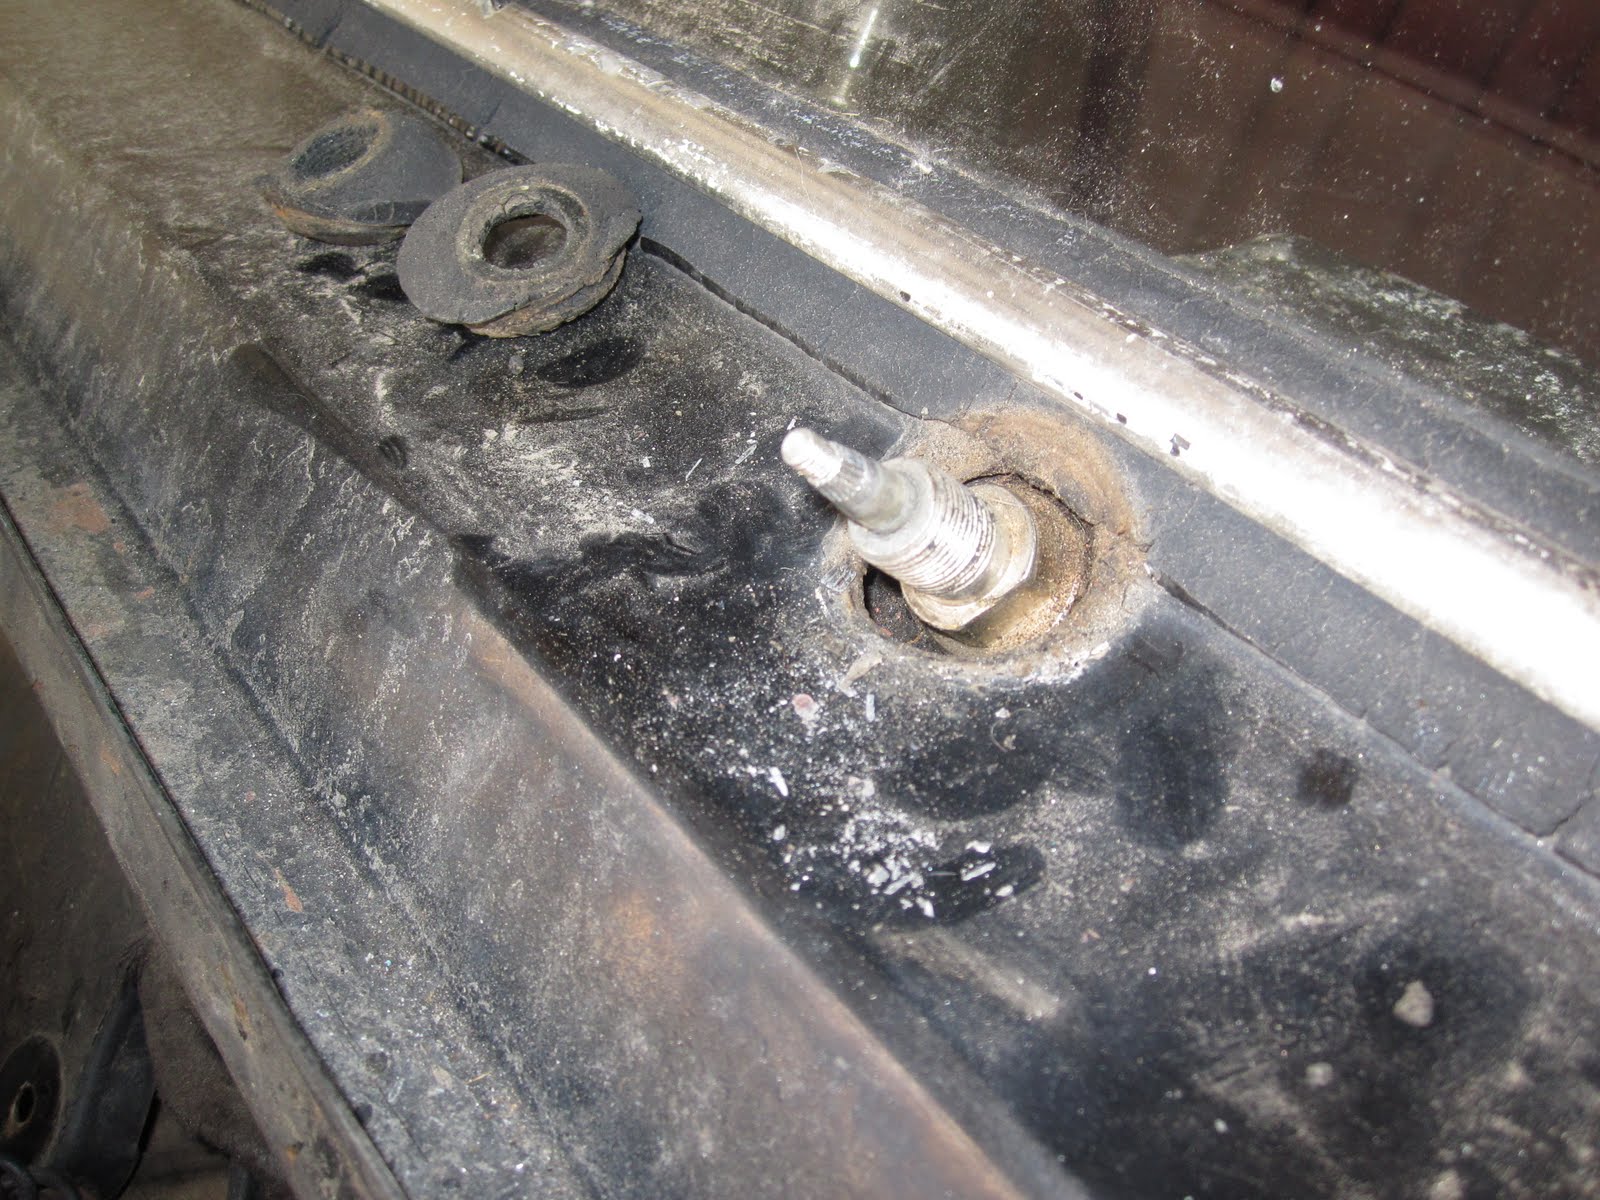
But, one has to remove two other bolts, holding one of the vertical guide rails in place - here...

...and here. Once this rail is free, the arm from the regulator to the tray can be slipped between the guide rail and the door frame, and the regulator removed.

The process for the rear door is the same, except the guide rail to be freed up has three bolts instead of two, and is to the rear of the car as opposed to the front, as is the case with the front doors.

A pair of window regulators - front door on top, rear door on bottom.


The nice thing I'm discovering about working on the doors - unlike most tasks with this car, it's repetitive - so once you figure it out for one door, the other three doors go much quicker!

Windshield wipers/motor

Windshield wiper motor, still wired up...

...and unwired.
The rubber washers on each side of the three bolts are going to need replacing, methinks.
A shot up underneath, showing part of the arm that is pushed by the motor to move the wiper blades.
Wiper motor detached.

The main wiper arms were easy to remove. At first, removing these last bits had me stymied - the service manual mentioned a special tool to get these bits out. But Ernie (my Merc-lovin' neighbor) said "meh, just use some pliers" - so I did. Suckers came out easy enough. *bonk!*
Suckers came out easy enough. *bonk!*
With those two parts removed, the motor mount and attached hardware came out easily.

Fuse box

Next up: removing the fuse box. Shot from the front...
...and of the back.
First order of business is to detach that cylindrical piece.
"Blinkgeber" translates as "flasher". "Nicht werfen!" translates as "do not throw!" I imagine there's another meaning to that... :/
To free up the fuse box, the plate around the right side has to be removed. Just a couple of bolts need removing and it slides right out.
Now that the box is free, it's time to spend a good little while unscrewing about twenty screws, making sure not to lose any, and detaching all the leads. Fun!
Front and back of removed box. I did spy the fuse box cover in a box of loose parts that my cousin sent along with the car, so I'll be digging that out and storing it with the box itself.

Coolant system

More catching up on photos and posts! This is from late May. :/

This time I tackle getting some of the coolant system out, on the passenger side of the engine.

Photo of the top section of hoses/etc. to be removed...
...and a shot farther down.

The top section looks kind of tricky, but it's just a matter of loosening up all the clamps, and giving that central piece a good steady twist, and everything pops loose.
After the hoses/etc. above are out of the way. Next is that one pipe, removing the clamps and loosening up the old rubber hoses (which requires giving them a good lengthwise slice);


And out it comes! The pipe itself needs some cleaning up - there's a bit of rust but it appears to be just on the surface. I suspect this piece will be reusable.