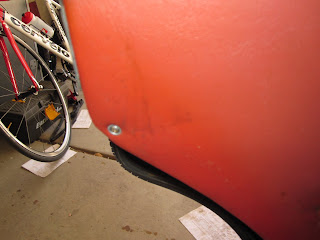
One thing I thought would be a quick-and-easy bit was to remove the inside door panels. Oh, how silly of me... :)
Along with a bunch of clips around the sides of the doors, the panels are also attched with small screws. Here's one from the rear driver's side door.
Front passenger door, with the panel removed. Some of the clips tore free from the panel itself, and are easily pulled out later with a quarter turn. (Unfortunately I did demolish a couple of these clips before I puzzled onto the easy-twist trick.)
Front driver's side door.
Door lock (left) and pull rod (attached on door lever).
Door lever and window crank area.
Rubber bit called a "linkage guide" in the parts manual. Most of mine have deteriorated and detached from the hole they fit into. These will likely be fun finding replacements.
Same shots as driver's door above, for the rear driver's door.
This was a fun one. Early on, the first thing I started removing from the old gal were the armrests (or rather, the remnants thereof). The one I could not fully remove was the right rear door. As it turned out, one of the bolts holding the bottom half of the armrest screwed into a nut that was attached to the door frame with some sort of clip - and this clip had come loose, so the bolt and nut would spin freely. Said bolt passed through a hole in the door frame, so in order to remove the door panel, this bolt had to come out. It came down to taking a box cutter and cutting a hole through the lining and backing large enough where I could get an arm up inside with a pair of pliers, to hold that nut/clip steady while ratcheting the bolt off from the other side.
I had already planned to replace the lining on these panels anyhow - to match the upholstery when that is redone - but I was hoping to retain the backing material for re-use. This one, obviously, is now shot. :) It's a minor issue though, as a new piece can simply be cut using the old one as a pattern anyhow. And I may well just have all four panels redone this way as well, in the end.
Next fun bit will be carefully removing the trim pieces and preserving them for later use.
The other fun bit will be with the front door panels, specifically the pockets at the bottoms of the panels.
Subscribe to:
Post Comments (Atom)


No comments:
Post a Comment