I've been neglecting the old gal's backside, it seems. So I decided to remove the tail lights today as well. It's tough to get good angles on these photos as the back bumper is pretty close to the back wall of my garage, and I'm no contortionist.
Driver's side tail light shell. Both are in pretty good shape - some cracks but no holes, and the color is still good on both. Probably one of those "replace sometime down the road if a good deal shows up" sort of things. Two screws (top and bottom) come out easily and the shell comes away. The shells have a small plate, separating the lower red area from the middle white - one of these plates popped off when removing the shell, but I don't think that's going to be a big worry.
The guts of the tail light, with the four lamps. Little did I know, until getting a look from the back, that these old bulbs pop out as easily as they do - push a bit, twist, pull. Sorta like child-proof caps on medicine containers.
Passenger side with the shell off - note the dent just below thte tail light area. Been there forever, I imagine. Just one more bit to get repaired once the body is ready to be hauled to the shop for stripping.
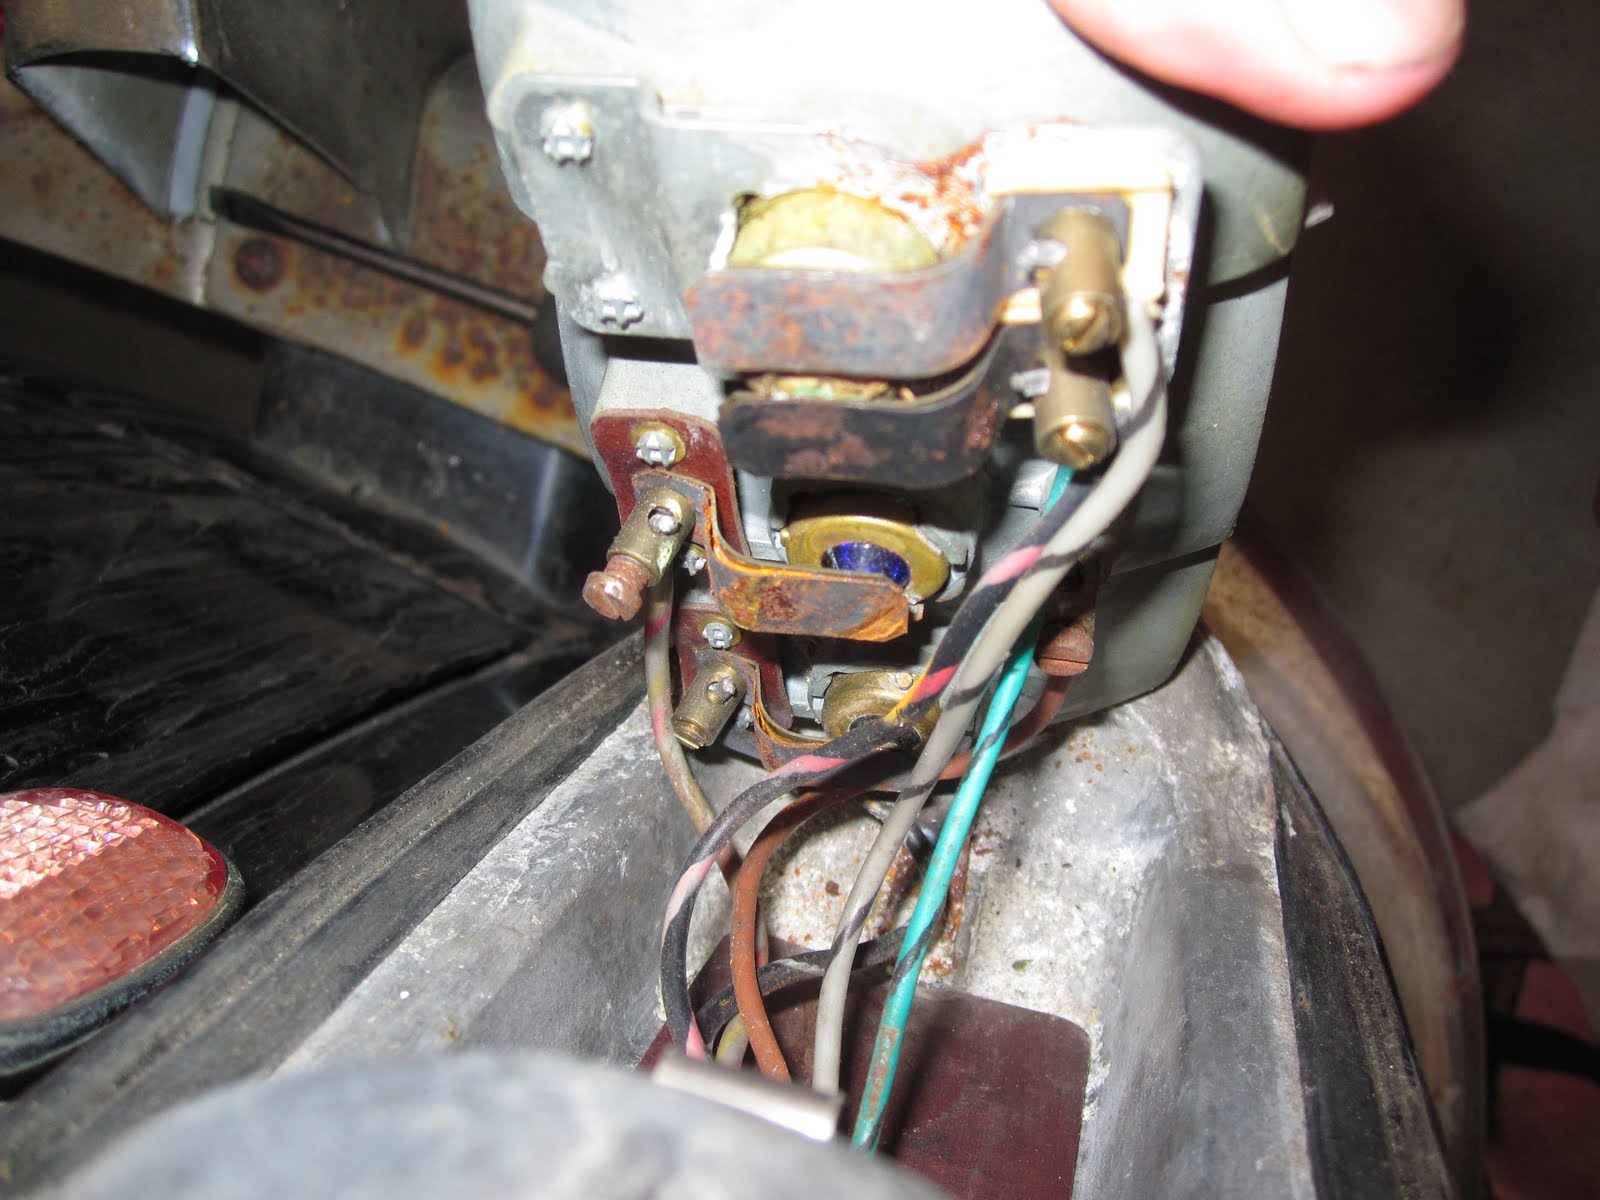
Driver's side area, with the guts pulled away, shot from above. Easy enough to take a small flathead and detach the half-dozen or so wires. I took several photos from various angles so I'd be sure which wires go back where.
The guts removed, sans bulbs, front...
...and back. Pretty good shape considering.
Driver's side area, sans guts. The rubber seal appears to wrap around the mount. I'll get back to this area at some point with a part-two post.


No comments:
Post a Comment