First order of business is getting the front end of the main brake cable loose. The grippable part inside the passenger compartment, under the dashboard, was removed many moons ago. So the next task is to remove the huge wingnut from the threaded end of the cable.


About halfway through, trouble - the cable itself twists out of the channel in the brake lever, allowing the pin pictured to escape. And there's no getting it back into the channel in order to hold the cable steady while putting the needed force on the wingnut. For a bit I thought I was pretty well screwed, and then I ended up clamping a vice grip onto this tab, and letting the end of the vice grip rest against the side of the engine, which gave it the support needed to stay in place while I finished removing the wingnut.

Next to come off is the brake lever itself. There's a single bolt holding it to the body. Fortunately, I have the service manual CD available, and I print out the related sections as I tackle each job, so I see the instructions that says "Caution! Left-hand thread!" - which I noticed after a couple of attempts at loosening this bolt the normal direction, heh heh. Once I went righty-tighty, it came loose fairly easily.

That's it for the engine compartment side. Now, the rear end, where I discover just how greasy things can get.

The main rear brake cable hardware, which sits just inside the driveshaft tunnel, above the driveshaft. The cable from the front end is visible coming off the bottom of the photo, heading toward 10 o'clock. It's held to the lever piece (the straighter horizontal bar) by a pin and cotter pin. This cotter pin turns out to be a bear to remove, partly due to the greasy nature of the area and partly due to the close quarters I'm dealing with underneath the jacked-up car. I simply cannot get my arms in good positions to get purchase on this piece. It ends up taking getting my neighbor Frank over, the two of us on the ground on either side, reaching up with one extended arm each, to finally get this pin out. Phew.
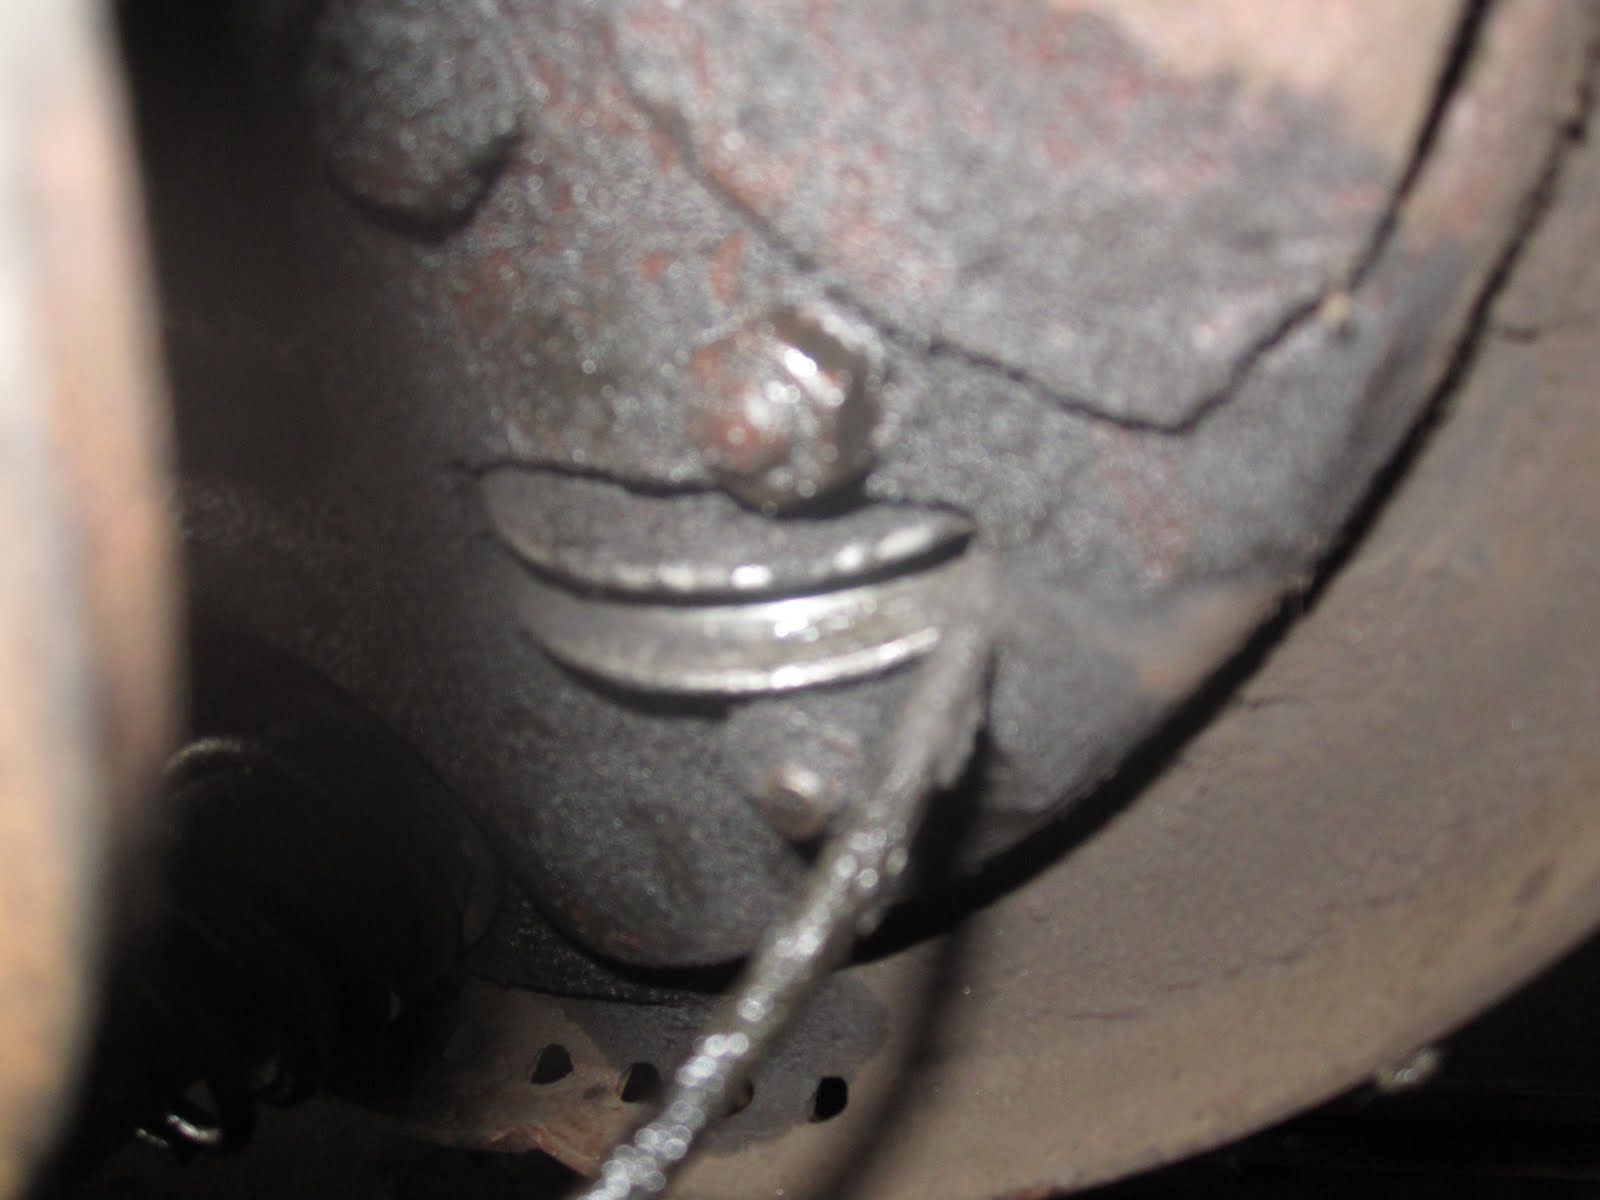
The spring comes off easy enough, just a matter of getting a good grip on it. No tools needed on this one.


Success! Another disassembly job complete, mostly. There's a lot of cleaning yet to be done...


No comments:
Post a Comment