I settled on working on getting the fuel lines free. To document: Below is where the fuel lines come into the engine compartment, they're the pair of lines horizontal with the photo.

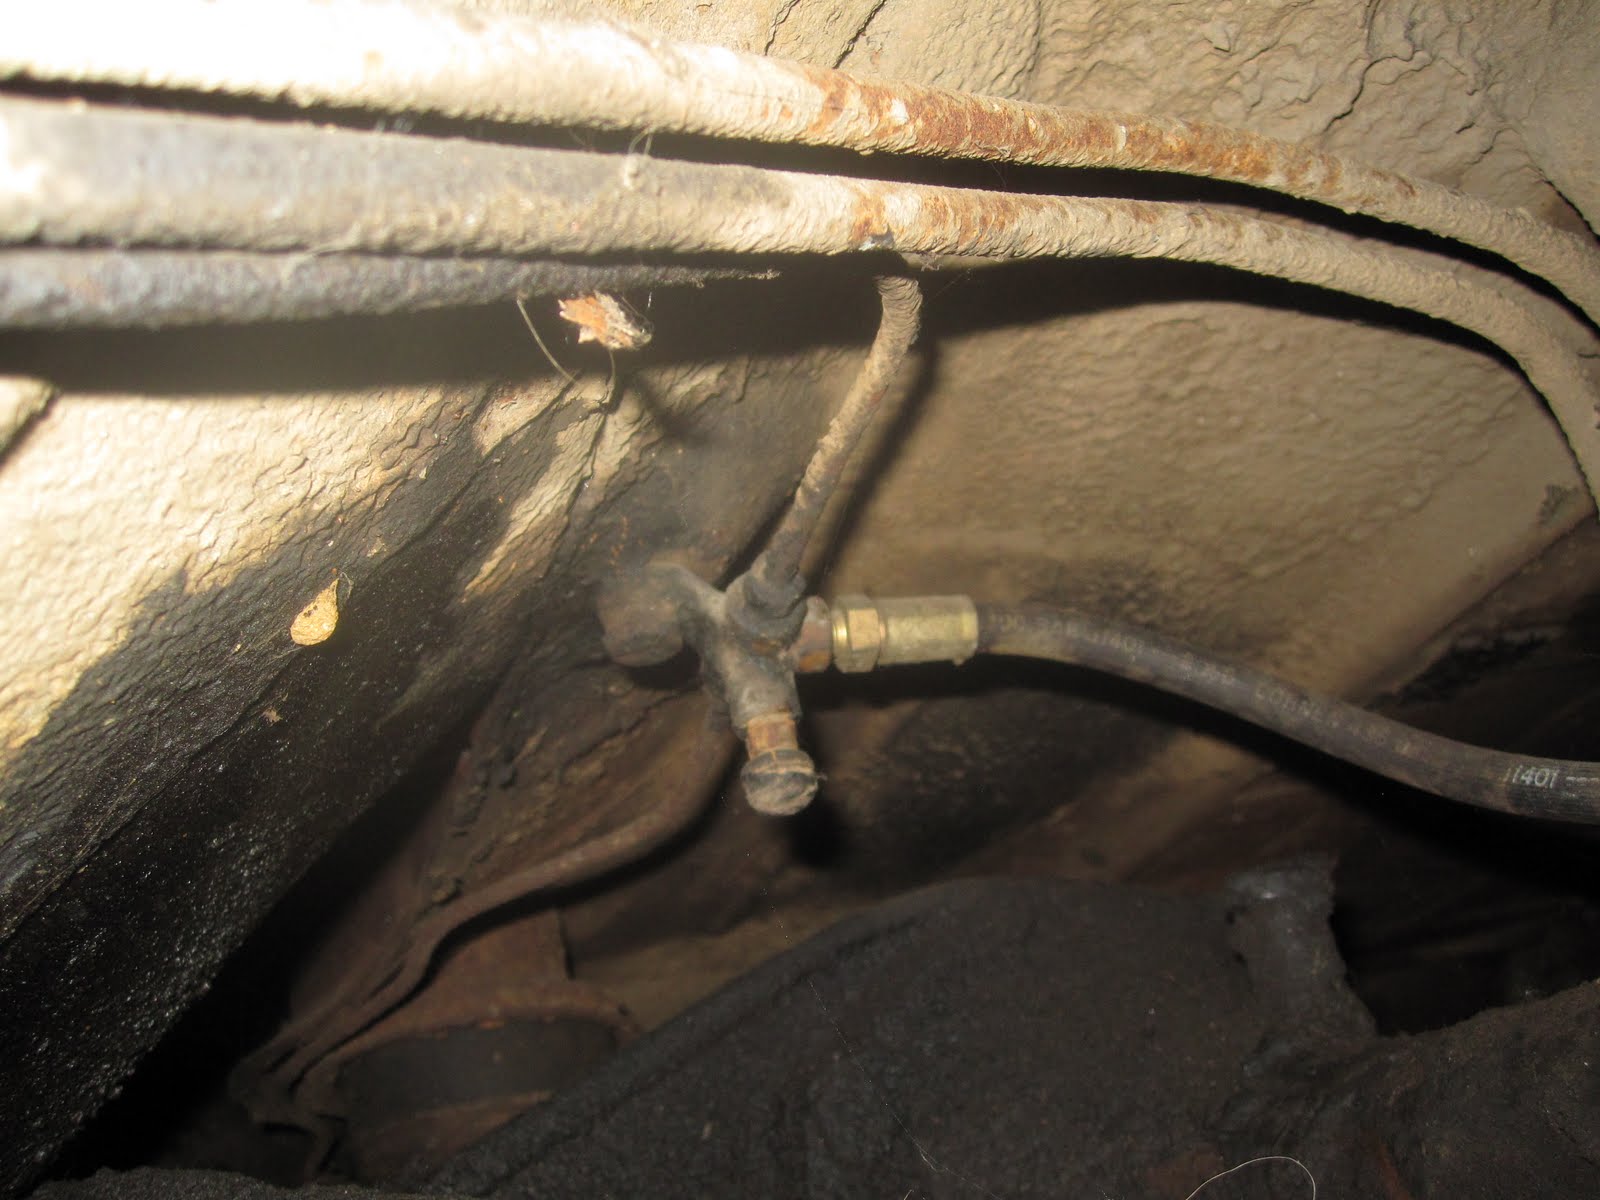
The fuel lines dip down and underneath; at this point a brake fluid line joins them for their journey towards the rear of the car. The front end of the brake fluid line connects to (what I believe is) the master brake cylinder - two more lines come off from here.

One goes right into the wall of the engine compartment (seen in the first photo), while the second snakes around the bottom of the engine compartment, left side raround the front beneath the radiator and around the right side, and through that wall.

All three lines are attached to the underside of the body in various places until they get to just behind the passenger compartment area, where the brake fluid line reaches this junction, again splitting off two lines to the rear wheels. You can almost see where the fuel lines end, just off the edge of the photo - this is where the shop cut the lines off when they removed the fuel take about 1.5 years ago. At that time, I was somewhat upset that they just cut the lines; but it would have taken a good while to free up the connectors themselves, and now that I know a fair bit more, I intend to replace the fuel/brake lines with better, modern gear anyhow.
Below is one of the line mounting clips. It's held in place with a nut/washer threaded onto a small post. But, not all of these mounts are held on that way - two or three of the clips on the front end of the car appear to have Philips-head screws holding the clips on. This is not good, I fear, as all the road goo that has accumulated on the underside is likely going to make removing those screws intact incredibly difficult. I'll be soaking these in penetrant several times for the duration.

A photo of one of the rearward line mounts, this one with the post/nut combo.

But, I can tackle the clips held on with nuts, at least. After a couple of shots of penetrant over a little while, these nuts all come loose with a carefully applied amount of effort, and having learned from past mistakes, I take it slow and steady with the ratchet to get the nuts off.

Once I scrape away some of the layered road crust around the clip, I can get a small flathead screwdriver underneath the edges and wiggle the clip loose. Underneath I find what I initially thought was another clip - but no, it's a rubber piece that has channels for the lines that the clip rests upon flush.

As with most fifty+ year old rubber, these pieces don't come away easily, or intact. No matter, as the replacement lines I end up using likely won't be the exact same size. I'll probably end up replacing the metal clips themselves as well.

Here's one clip and what's left of the rubber piece beneath.

As far as the posts go, those are just inserted from the inside of the passenger compartment - they either are loose enough to pull out, or come loose with a couple of thumps from below with a hammer.

For this go-around, I removed the mounts that I could, all the post/nut mounted clips. I'll tackle the screw-mounted clips once I've soaked them sufficiently with penetrant. I hope I don't have to resort to cutting off the screw heads and drilling out the remnants of the screws - I fear small metal pieces ending up inside the body and later bouncing around and making noise.
On a completely unrelated note, ever-helpful neighbor Frank rolled home while I was in the garage a bit ago. I asked if he'd be around this weekend, and willing to bring over his blowtorch to have a go at loosening the remaining door hinge mount screws, giving them a few rounds of heating/cooling. Me being a newbie, I feared messing around with this myself - but Frank hauls over his tank with a hose and handle on it, and demonstrates it's just a matter of pulling the trigger. So I've got his gear for the duration, and it's stupid simple enough that I think I can manage this on my own.
If you don't see more posts from me over the weekend, please call the fire department. Thanks.
No comments:
Post a Comment