Seeing as I have the fuel lines off the car, now the brake line running from the master cylinder to the rear of the car is hanging free. So it's time to properly get the brake fluid drained so I can get that line out without making a total mess.
First thing is to get the wheels off. I had no chocks so a quick run to Wally World and I'm set. Took a little while to lower each corner of the car, loosen up the lug nuts with a breaker bar and then jack it back up so the wheel could be pulled off.
I did try using the original lug wrench that came with the car, but I could not for the life of me get enough purchase with it. The lug nuts on the car look too shiny to be fifty-three years old - I wonder if they weren't replaced with a different size nut at some point.
Front left brake rotor, which slides off with no trouble. Some of the other rotors needed a bit of encouragment from behind with a rubber mallet.
Brake shoes/etc. All of this will come apart and get cleaned up in time.
Here's the right front wishbone and top of the shock area. Filthy! Look at all that accumulated junk around the ends of the bearing pin to the rear of the shot. I spent a good ten minutes just poking at all of this mess with a flathead to break it loose.
In contrast, here's the same area on the left front wheel. Much cleaner.
The wishbones (at least the top ones) look pretty new, as do the shocks. My cousin did tell me he had the shocks redone at one point some years back, I assume the top wishbones were part of that.
Now to start bleeding the brakes. I had a fun time figuring out where the bleeder nuts were. With the help of some of the Pontoneers, I finally puzzled them out. Here's the front one, left side of photo just behind the curve of the main assembly, sticking out a bit;
And the rear bleeder screw. This one sits directly above the axle and the brake fluid line. The rear bleeder screw still had the rubber caps on them; the front nut rubber caps are no doubt long gone.
These screws came loose with a bit of pushing. Oddly enough, only the first one I tackled, the left front, bled out any fluid. The other three, nada. Not surprising, I suppose, given the time since the car was last driven (around five years or so).
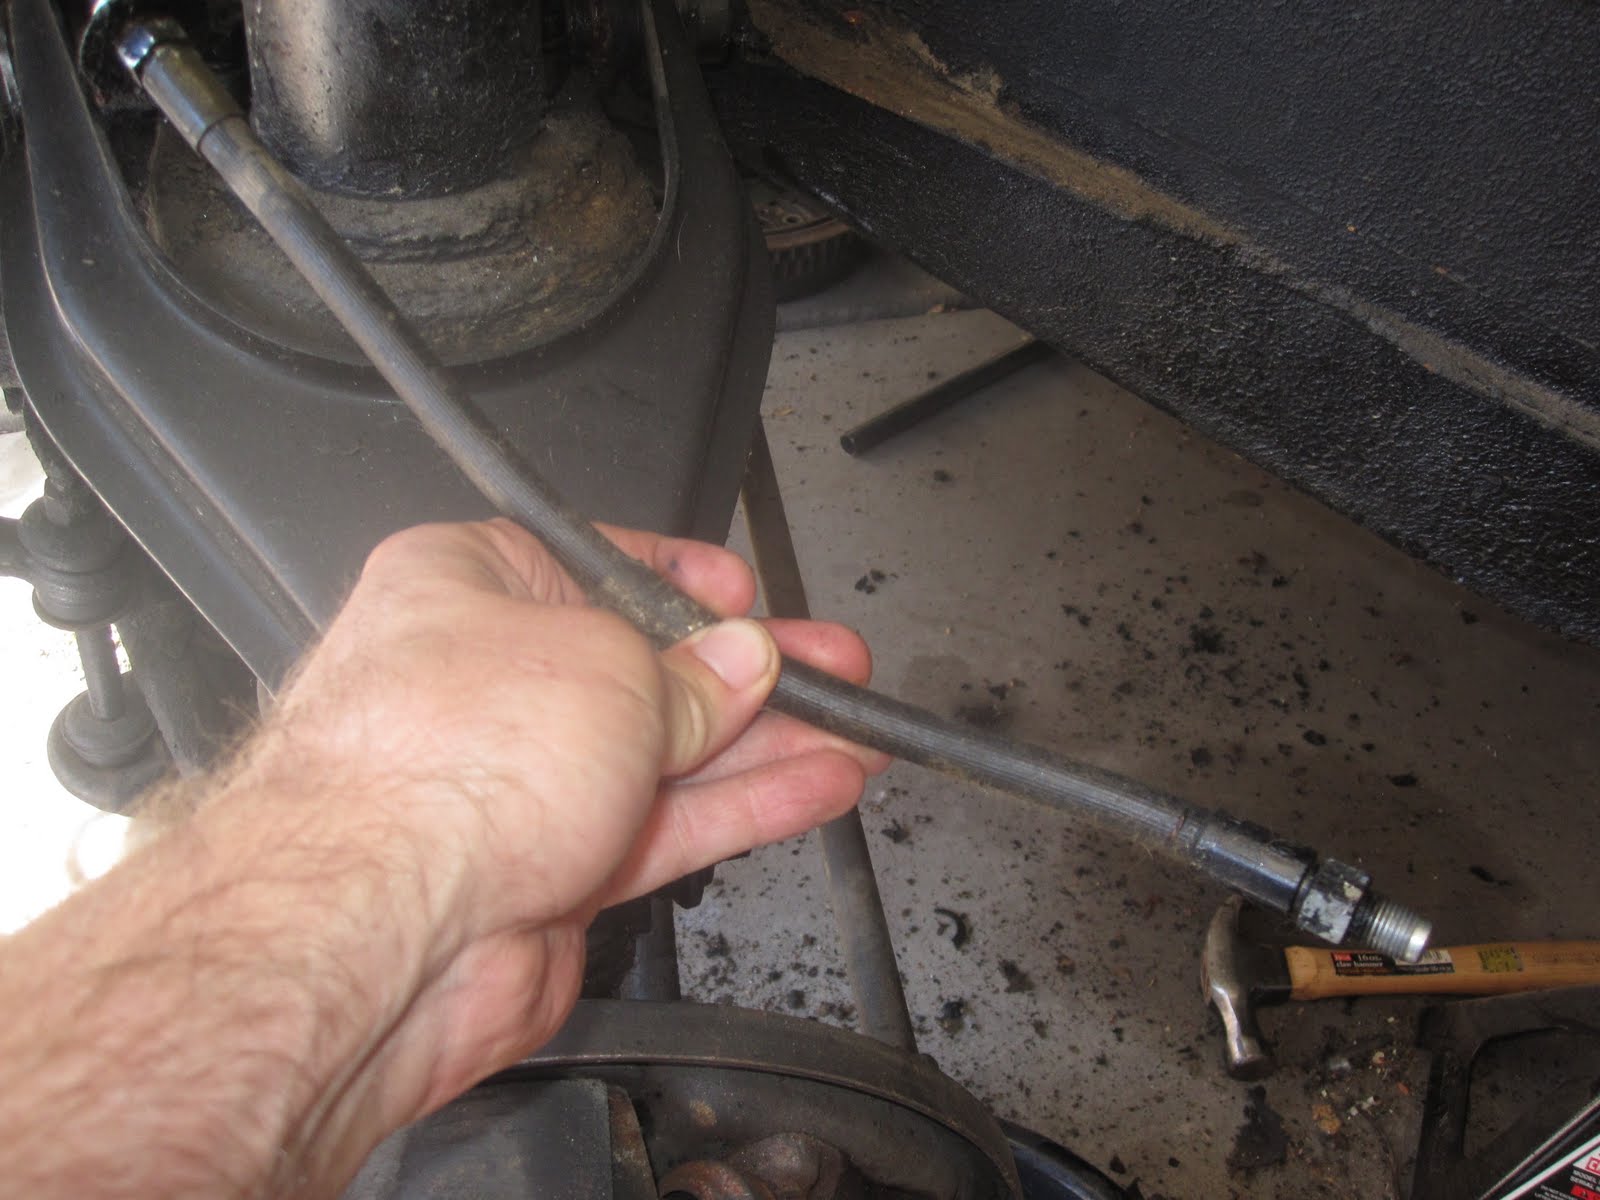
Next up is to remove the brake hoses and lines on the front end. Here's where the hose connects to the engine compartment wall...
...and the brake line that comes up from the master cylinder. Removing these two lines wasn't terribly difficult, it was just a matter of holding onto the hose end with one crescent wrench, and working on the nut on the end of the brake line inside with another wrench.
Trickier is the right side line. This line comes up from the master cylinder, and snakes its way around the front end of the engine compartment, then loops around behind this plate that sits between the engine compartment wall and the exhaust pipes. I assume this is to keep heat off the brake line and hence, the fluid within.
It took a little while to get this nut unthreaded, as I could only get a few degrees of rotation per attempt due to the cramped quarters.
Back to the left front... the brake line pulls away from the hose on the other side. The brake hose bracket goes into a bag (along with the clips that hold the right front brake line to the engine compartment).
With the brake line removed, the hose is free.
And then it's a simple matter of loosening the other end of the hose, and away it comes. All these hoses and brake lines are going to be replaced in the end - not going to take any chances with the brakes!


No comments:
Post a Comment