

Looking at it before, I figured this was going to be a bear of a job - but as it turns out, it was pretty simple. First thing is to remove the two brake fluid lines. Those were on pretty good - it took some muscle to loosen up those nuts.

A vaccum hose that loops over and connects on the other side of the engine comes off next.

Now to remove the nut/washers that are holding the rear mounting clamp onto the back of the booster.

And now the whole unit is free, and slides out easily.


Now that the booster is out, I can remove the plate it was mounted to. Front shot...

...and back. This plate is held on by four hex bolts (two on each side). Despite the grime, these loosen up fairly easily.

And this hose, which connects to a metal hose that attachs to the instrument cluster, needs to be disconnected. From what I can tell, this is an oil pressure gauge line.

Plate and other hose removed. I figure separating the two will be far easier out of the car.

And now this cable is quite exposed, and a target for removal. It snakes through a hole in the firewall...

...and connects to this dashboard switch, which is the choke control. It's just a matter of removing the circular piece from the engine compartment side, and the two leads from this piece...

...and it slides right out through the dashboard. Circular piece threads back on for easy storage.

Now that all that gear is out, I can finally extract the feed/return lines for the ventilation system. Said lines are the slender metal pipes running horizontally, partially obscured by the engine in the above shot.
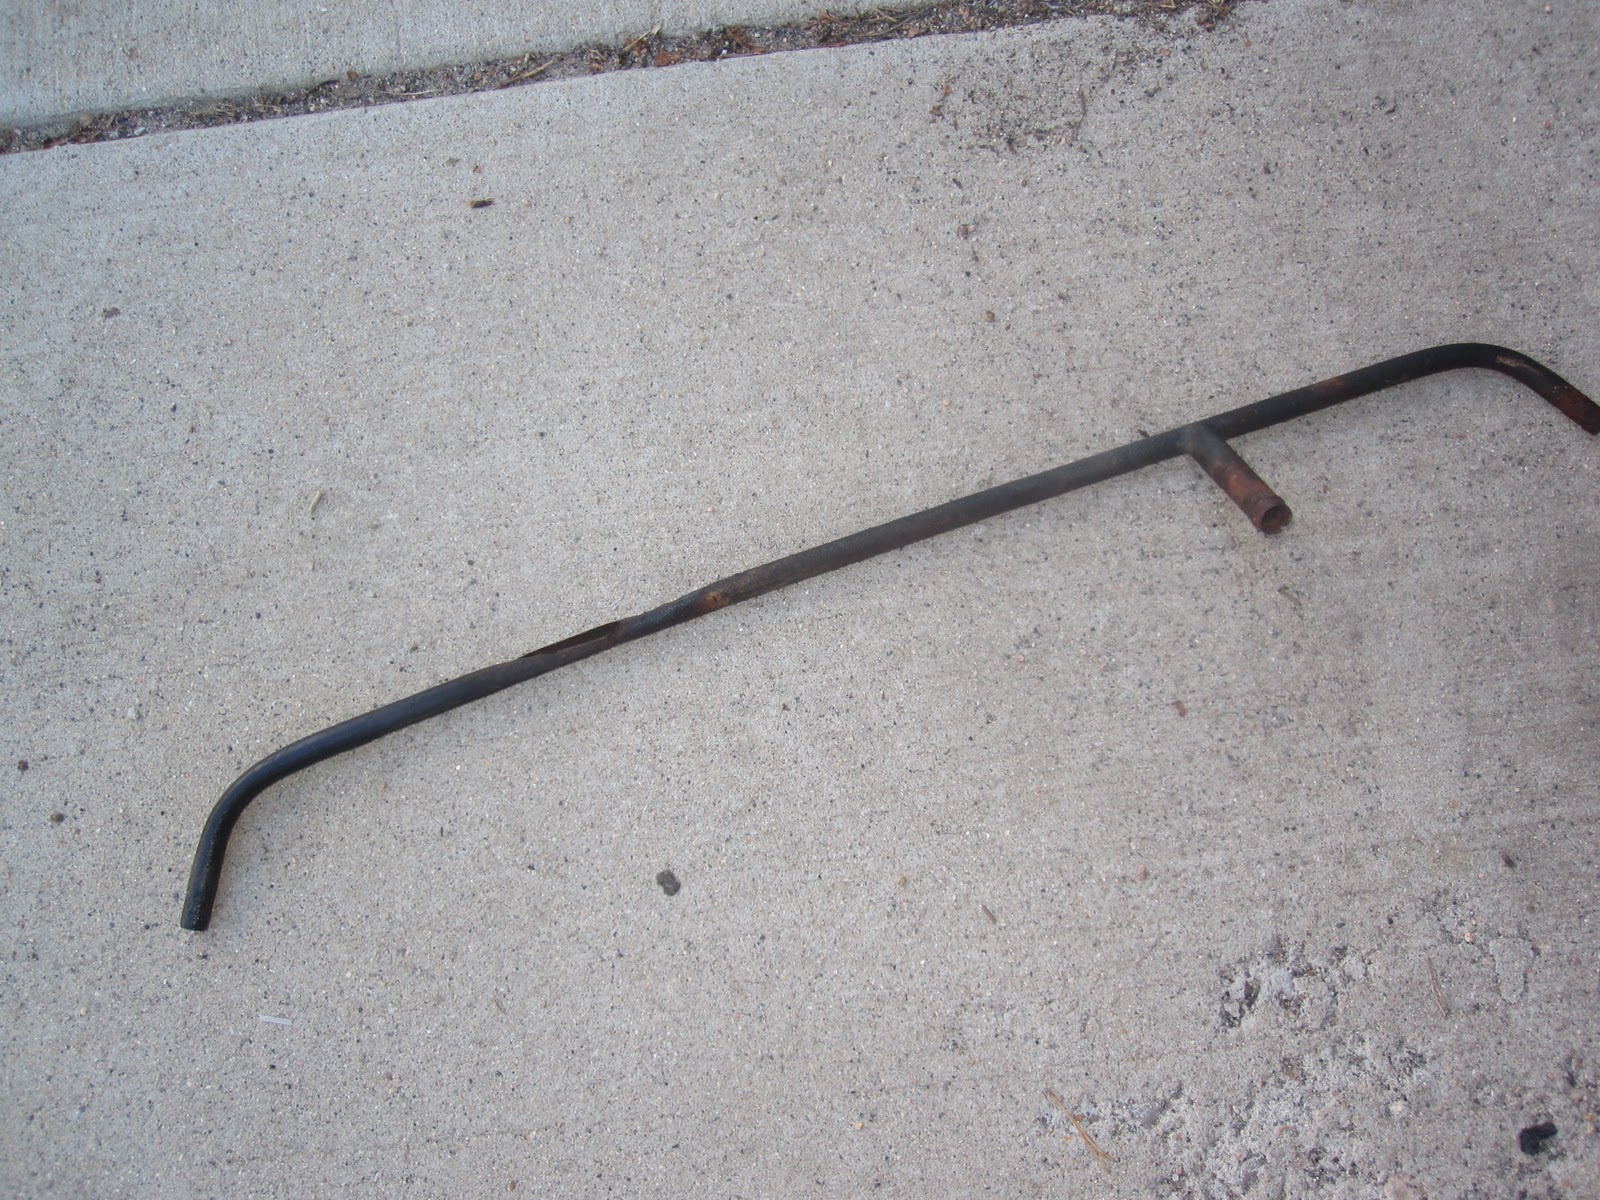
Return line. It may be tough to see in this pic...

...so here's a closer shot. This line has a huge gaping hole in it. :/

Here's the feed line. No obvious holes, but I still wouldn't want to put this piece back in and run hot coolant through it. I'll likely find someone local who can fabricate proper replacements for these two pieces.

And a shot of the engine compartment post-mass-removal. It's coming along... as a contrast, see a pic from late last year of the engine compartment before disassembly began.

No comments:
Post a Comment